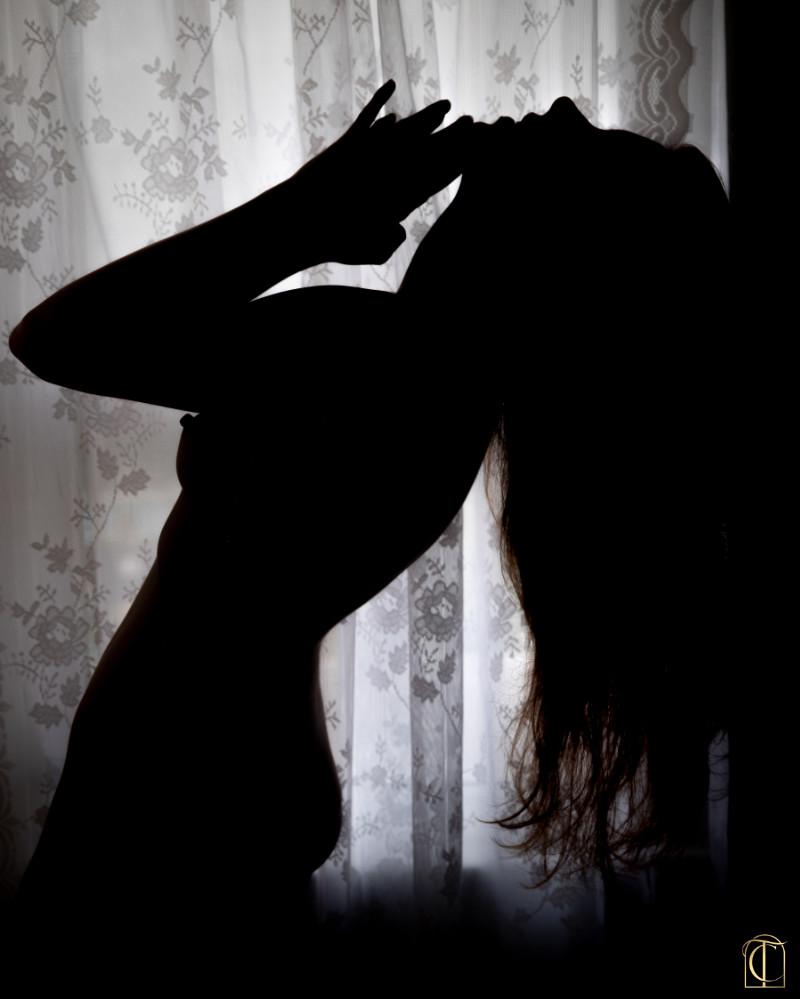
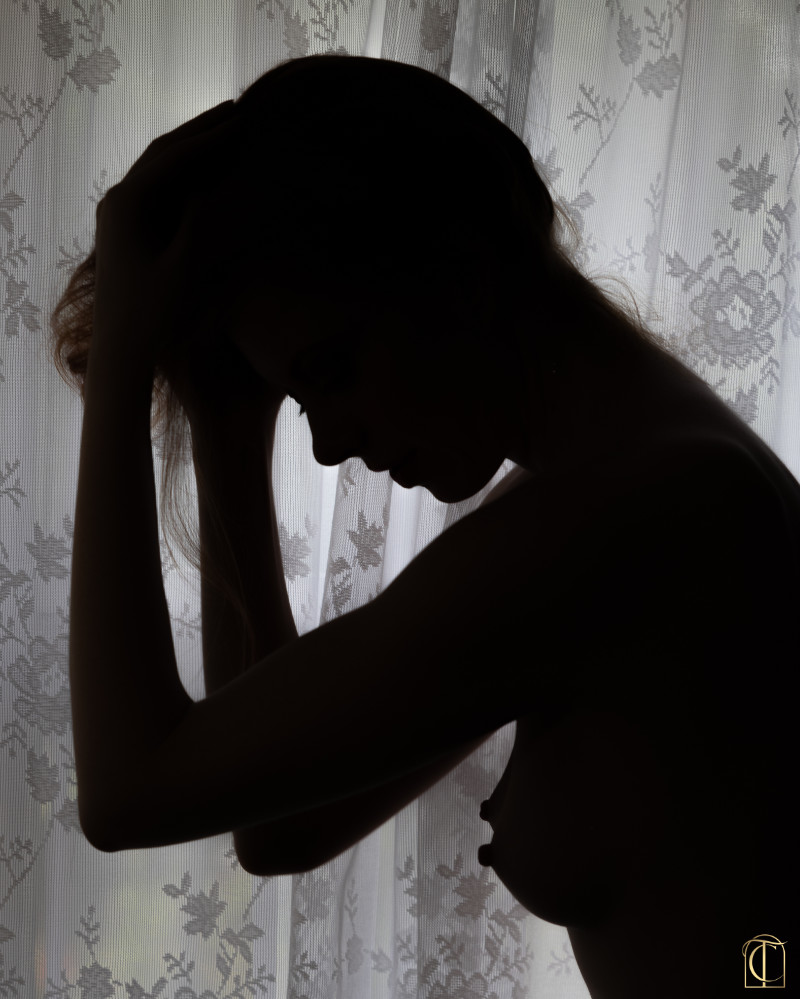
Silhouettes have been around since the 1500’s. Back then, artists would hand cut profiles to create images. The darkened silhouette would be placed on a light background to create the portrait.
With the invention of the camera, photographers have been taking silhouettes as an artful homage to the originals. The classic dark on light outline lends itself perfectly to boudoir.
Boudoir silhouettes using natural light
To start, the boudoir photographer places the client between a light source and the camera. They can then change the settings to create a low light image or a boudoir silhouette.
At my studio, I generally use the windows as a natural light source.


Good boudoir silhouettes require careful posing to create shapely, eye-pleasing outlines. Angles and curves are important for these images.
Boudoir silhouettes using studio lighting
The same type of effect can be accomplished with different studio lighting. In the images below, I used:
- a light painting LED (click here to see the color version.)
- A studio flash directly behind the client
- and a light curtain.


Ready to start planning your Boudoir Experience?
I would love to chat with you and go over all the details of our process, sessions and what you are wanting to create so we can plan the perfect boudoir experience for you.
Ready to chat NOW?
Text me at: 410-596-4127
Office Hours are Monday – Friday 9am – 5pm.
You may also email me at: thomas@thomasboudoir.com
Or just fill out this form and I will be in touch ASAP!
